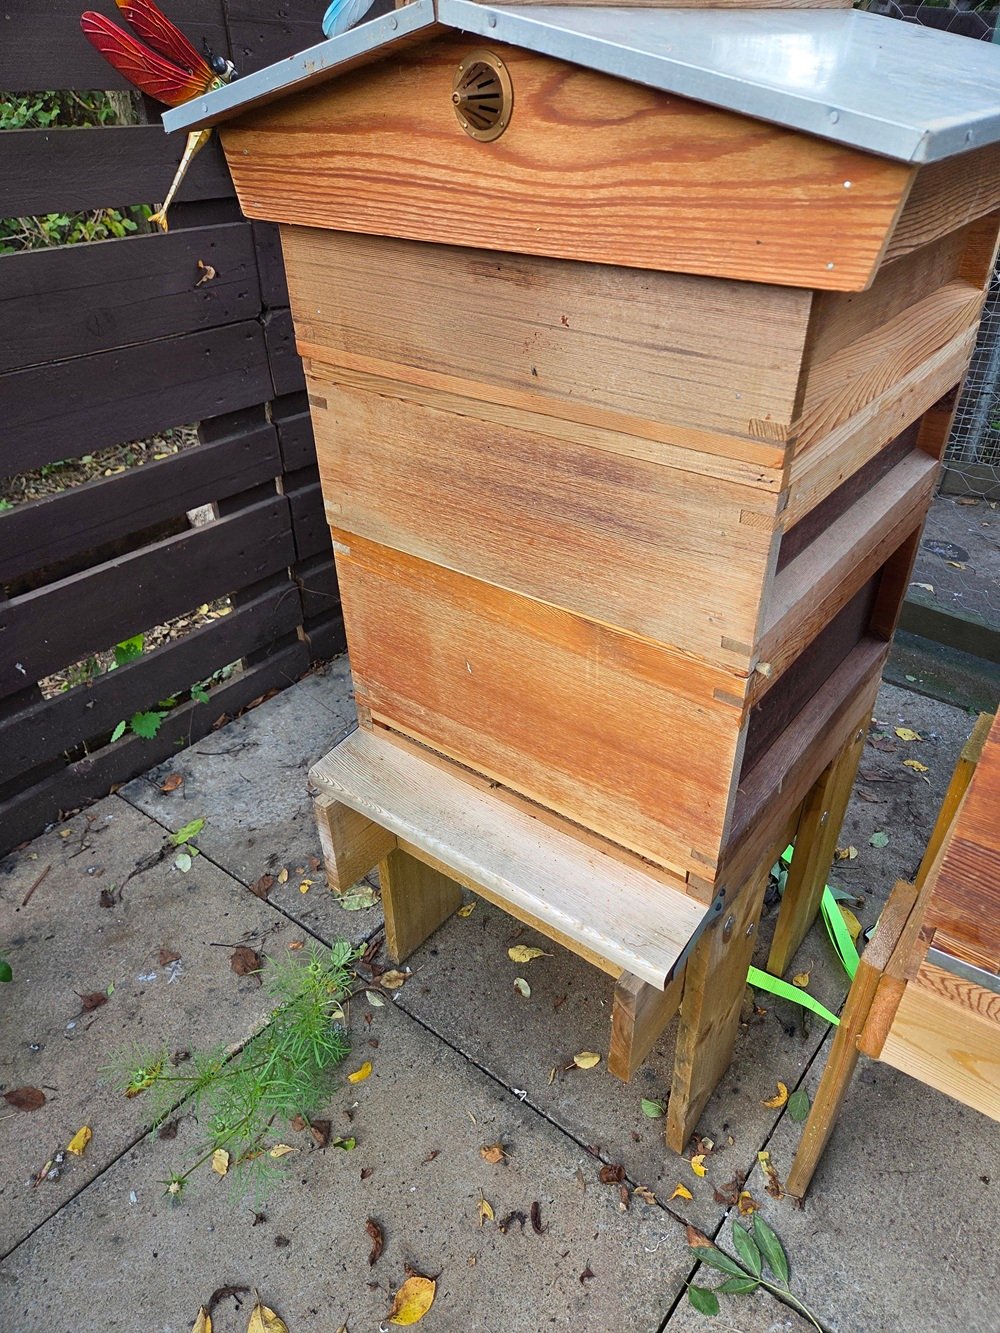
Welcome to my first apiary update! As the temperatures drop this autumn, I’ve been taking key steps out in the apiary to get the colony prepped for winter endurance.
Top Insulation & Fondant Access
First up was tackling heat retention and condensation control. I acquired a sheet of 45mm thick polystyrene insulation and cut it to match the internal dimensions of my National hive. Because my hive features a gabled roof, there were two main options: affix the insulation to the underside of the roof, or sit it directly on top of the crown board. I opted to place it directly on the crown board.
To make emergency winter feeding easy, I cut a central hatch out of the polystyrene directly above the feed hole, leaving space to insert a block of fondant later in the season. I’ve kept the cut-out piece in place for now so it remains fully insulated until feeding is needed. Crucially, before seating the insulation, I made sure the escape holes were fully bee-proof. While I initially fitted plastic porter escapes, bees can easily navigate through them or gum the springs open—risking them chewing through into the insulation. To prevent this, I covered the holes securely with pieces of slate, creating a durable barrier that keeps the colony safely below the board.
Ventilation & Open Mesh Floor
Cold temperatures rarely kill healthy bees—dampness and condensation do. Warm, moist air produced by the winter cluster naturally rises; having that 45mm insulation on top keeps the ceiling warm, preventing moisture from condensing and dripping icy water onto the cluster below.
Meanwhile, the hive’s open mesh floor allows heavy carbon dioxide and excess humidity to escape cleanly at the bottom without creating a chimney draft. To ensure free airflow throughout the winter, I have fully removed the plastic Varroa inspection tray.
Nadiring the Super
Next, I moved my full super of honey down underneath the main brood box, placing it directly onto the mesh floor. This practice is known as nadiring. Placing the stores beneath the brood cluster encourages the bees to move upward into the insulated top box as winter progresses, rather than leaving empty space below them. For a deeper breakdown of this technique, check out my full guide: Overwintering Bees: Essential Hive Preparation Guide.
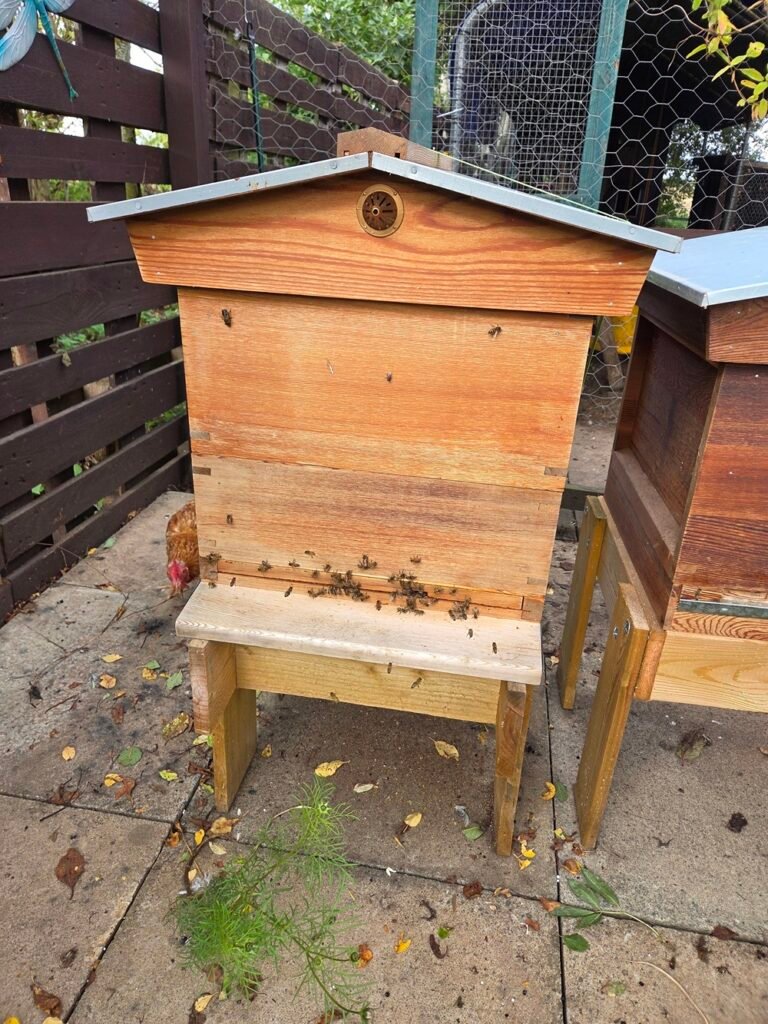
Hive after Nadiring
Entrance Adjustments & Mouse Guard Tip
Once the nadired super was in place, I removed the wasp tunnel entrance guard and inserted the standard wooden entrance block, rotated to the smallest opening. I then restacked the brood box on top.
I noticed a couple of lingering drones still flying in and out, so I held off on pinning the metal mouse guard over the entrance block for a few more days. If drones are still present, the tight holes of a mouse guard can trap them inside or lead to workers struggling to drag dead drones out, causing an entrance blockage. As soon as the drones have completely departed, the guard will go on.
Top Tip: Always make sure there isn’t already a field mouse sheltering inside the hive before you screw down your mouse guard—otherwise, you risk locking them in with your comb and winter stores!