This article contains affiliate links. As an Amazon Associate and an affiliate for other trusted beekeeping suppliers, I earn from qualifying purchases if you buy through these links, at no extra cost to you.
Keeping bees is an amazingly rewarding experience. Not only do we get our own supply of pure honey, but we are also responsible for nurturing these fascinating insects and helping local biodiversity thrive.
For your first few hive inspections, the process can feel a little nerve-wracking. You might worry about accidentally rolling bees or whether you’re reading the frames correctly. Rest assured, your confidence will grow quickly as you develop your hands-on skills and become familiar with your colony.
Essential Hive Inspection Kit
Before heading to the apiary, ensure you have the following gear ready:
- Bee Suit: Clean, fully zipped, and veil secured.
- Beekeeping Gloves: Soft leather or heavy-duty nitrile.
- Hive Tool: Essential for breaking propolis seals and lifting frame ears.
- Smoker & Fuel: lit and producing cool, dense smoke (see our beginner smoker guide for step-by-step lighting tips).
- Lighter / Torch: For firing up your starter fuel.
- Bee Brush: Soft, natural horsehair brush for gently clearing bees off frames.
Step-by-Step: Opening the Hive
- Light Your Smoker First: Always ensure your smoker is running reliably before getting dressed. Once you are happy the smoke is cool and won’t singe the bees, suit up completely and double-check that all zips and ankles are properly sealed.
- Remove the Roof: Lift off the hive roof and place it upside down on the ground nearby (it makes a great clean tray to rest equipment on).
- Gently Lift the Crown Board: Use the flat edge of your hive tool to carefully lever up the corners of the crown board, breaking the propolis seal. Move smoothly and avoid fast, jerky movements that might startle the colony.
- Apply a Puff of Smoke: As you lift the crown board, give one or two gentle puffs of cool smoke down across the top of the frames, plus a quick puff at the hive entrance to signal the bees to stay calm.
2. Lift and Examine Frames
Using the frame ears for a secure grip, lift the first frame straight up. Inspect both sides by tilting the frame carefully, then place it back into the box before moving to the next frame.
3. What to Look For:
- Eggs and Larvae: Hold the frame with the sun behind you so light shines straight into the bottom of the cells. You are looking for tiny, translucent “grains of rice” (eggs) and pearly white C-shaped larvae floating in royal jelly.
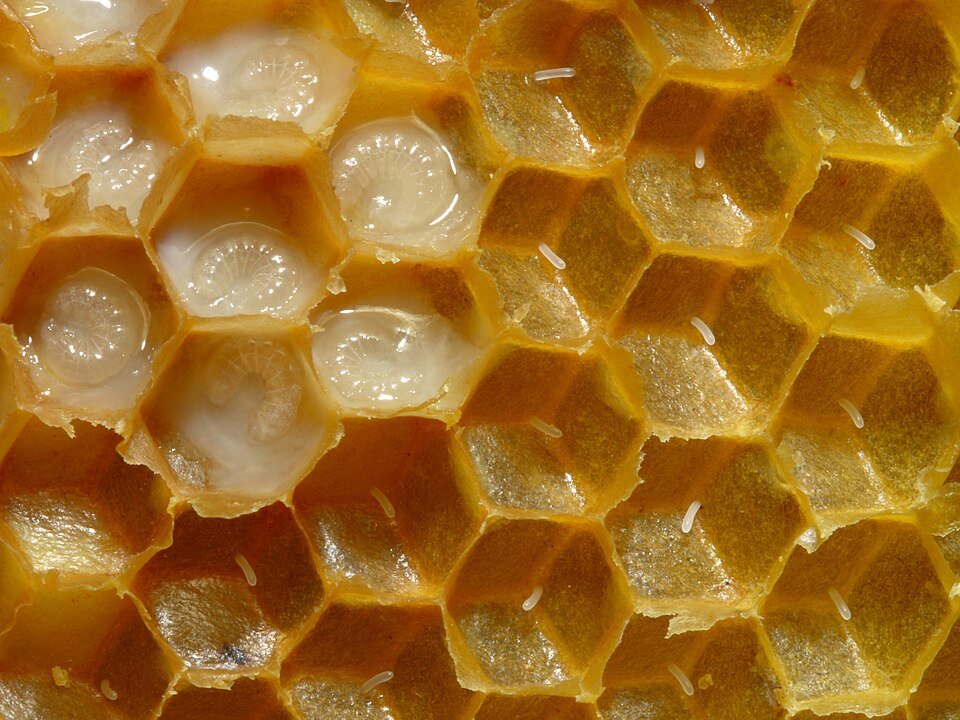
Photo by Waugsberg (talk · contribs). Creative Commons Attribution-Share Alike 3.0
- A Healthy Brood Pattern: Look for a solid, compact block of capped worker brood near the center, with few empty cells scattered inside the cluster.
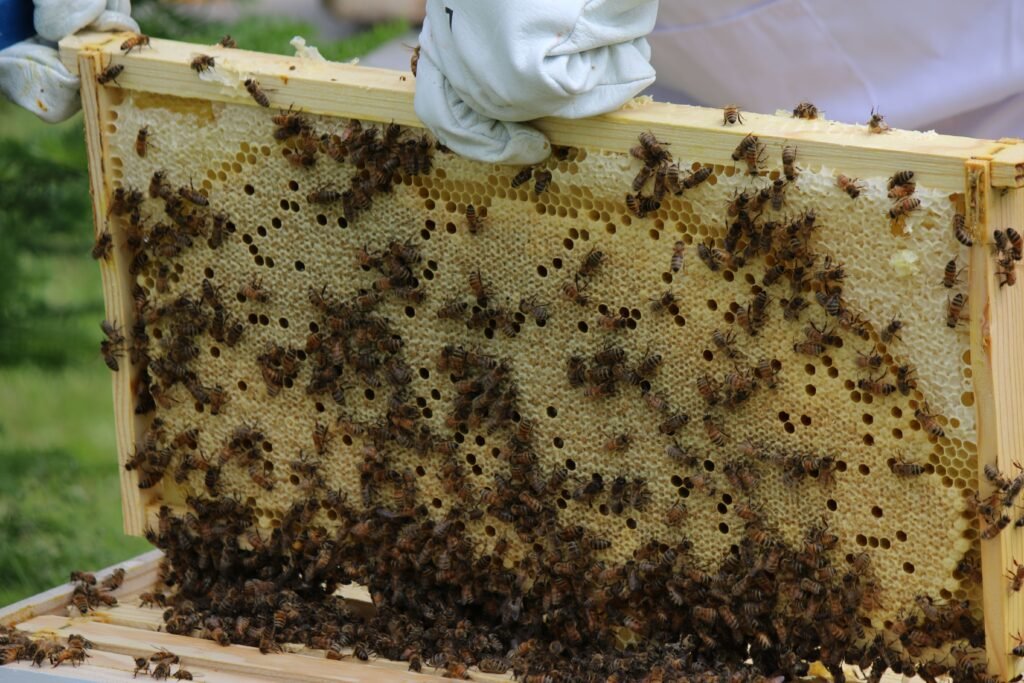
Photo by Denise Cusack
- Locating the Queen: The queen is noticeably longer than the workers and drones, with a smooth, dark abdomen. She may have a colored paint dot on her thorax. Don’t panic if you don’t spot her! If you see fresh eggs, you know she was present and laying within the last 3 days.
- Swarm Cells: Check along the bottom edges and face of the comb for large, downward-facing peanut-shaped pods.
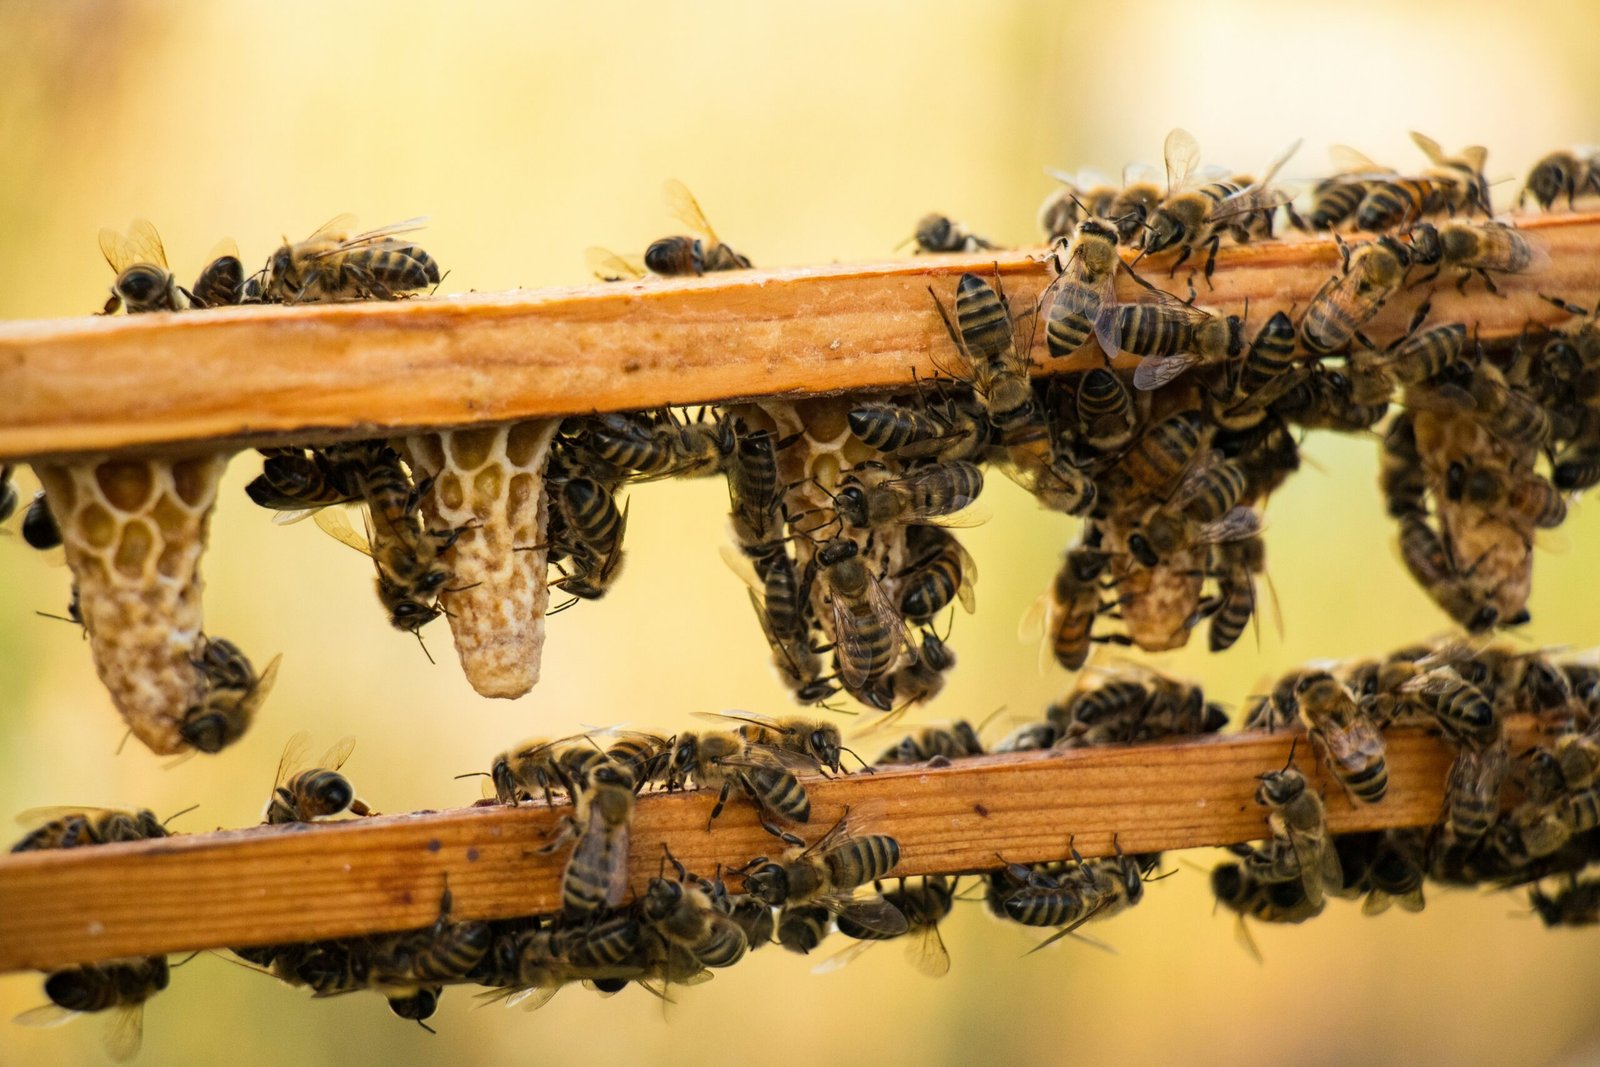
Photo by Spyros Skareas
Note: If the colony is running out of space, they will build swarm cells to rear a new queen. If left unchecked, the old queen will take roughly half the colony and swarm.
- Food Stores: You will usually find broad arches of glistening nectar, capped honey, and multicoloured pollen stored in the outer frames and along the top edges of the brood frames.
4. Post Inspection Brew
Once the crown board is back on, the roof is weighted down, and your notes are updated, the best part of any apiary day is sitting back with a hot brew to reflect on how the colony is doing. (If you’re enjoying that tea in a proper bee mug—or looking for thoughtful ideas for the hive enthusiast in your life—check out our favourite practical picks in our beekeeper gift guide).
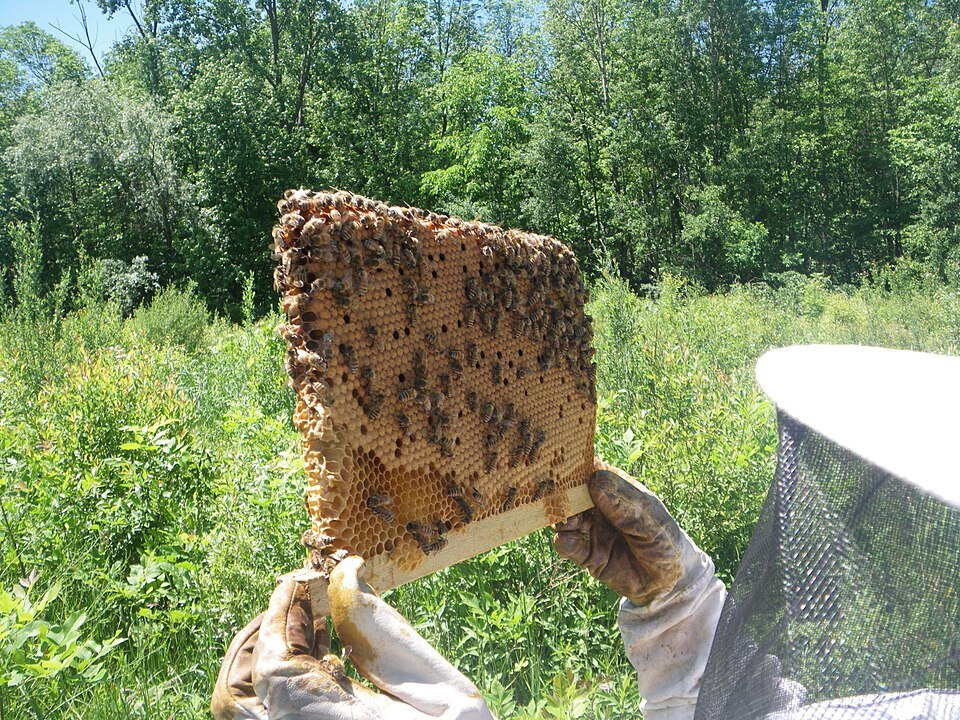
Feature Photo by shawn caza @ http://www.beekeeping.isgood.ca
Creative Commons Attribution-Share Alike 3.0